

mise à jour pdw330/350 firmware
Discussion dans 'Cinéma numérique' créé par jcf, 19 Juin 2008.
Tags:
Page 2 sur 2
Page 2 sur 2
Chargement...
- Discussions similaires - mise jour pdw330
-

[VotreAvis] Mise a jour DVR Studio 21
- Réponses:
- 14
- Nb. vues:
- 482
-

- Réponses:
- 11
- Nb. vues:
- 470
-
- Réponses:
- 1
- Nb. vues:
- 951
-
- Réponses:
- 2
- Nb. vues:
- 581
-

- Réponses:
- 0
- Nb. vues:
- 679
-
-
 Publié parLucas.janiszewski 16 Avril 2026
 -
 Publié parLucas.janiszewski 16 Avril 2026
 -
 Publié parLucas.janiszewski 14 Avril 2026
 -
 Publié parLucas.janiszewski 13 Avril 2026
 -
 Publié parLucas.janiszewski 27 Mars 2026
-
-
-
 Publié parmaximetrage 19 Septembre 2025
 -
 Publié parClmR 18 Juillet 2025
 -
 Publié parValentin Hautot 18 Juillet 2025
 -
 Publié parGRG 11 Juillet 2025
 -
 Publié parFranz Olm 29 Janvier 2025
-
-
-
 Publié parLucas.janiszewski 11 Février 2026
 -
 Publié parRepaire 31 Mai 2023
 -
 Publié parRepaire 20 Février 2023
 -
 Publié parRepaire 20 Janvier 2023
 -
 Publié parRepaire 20 Décembre 2022
-
-
-
 Publié parMarina 15 Janvier 2026
 -
 Publié parMarina 29 Octobre 2025
 -
 Publié parmaximetrage 19 Septembre 2025
 -
 Publié parMarina 30 Avril 2025
 -
 Publié parMarina 30 Octobre 2024
-
-
-
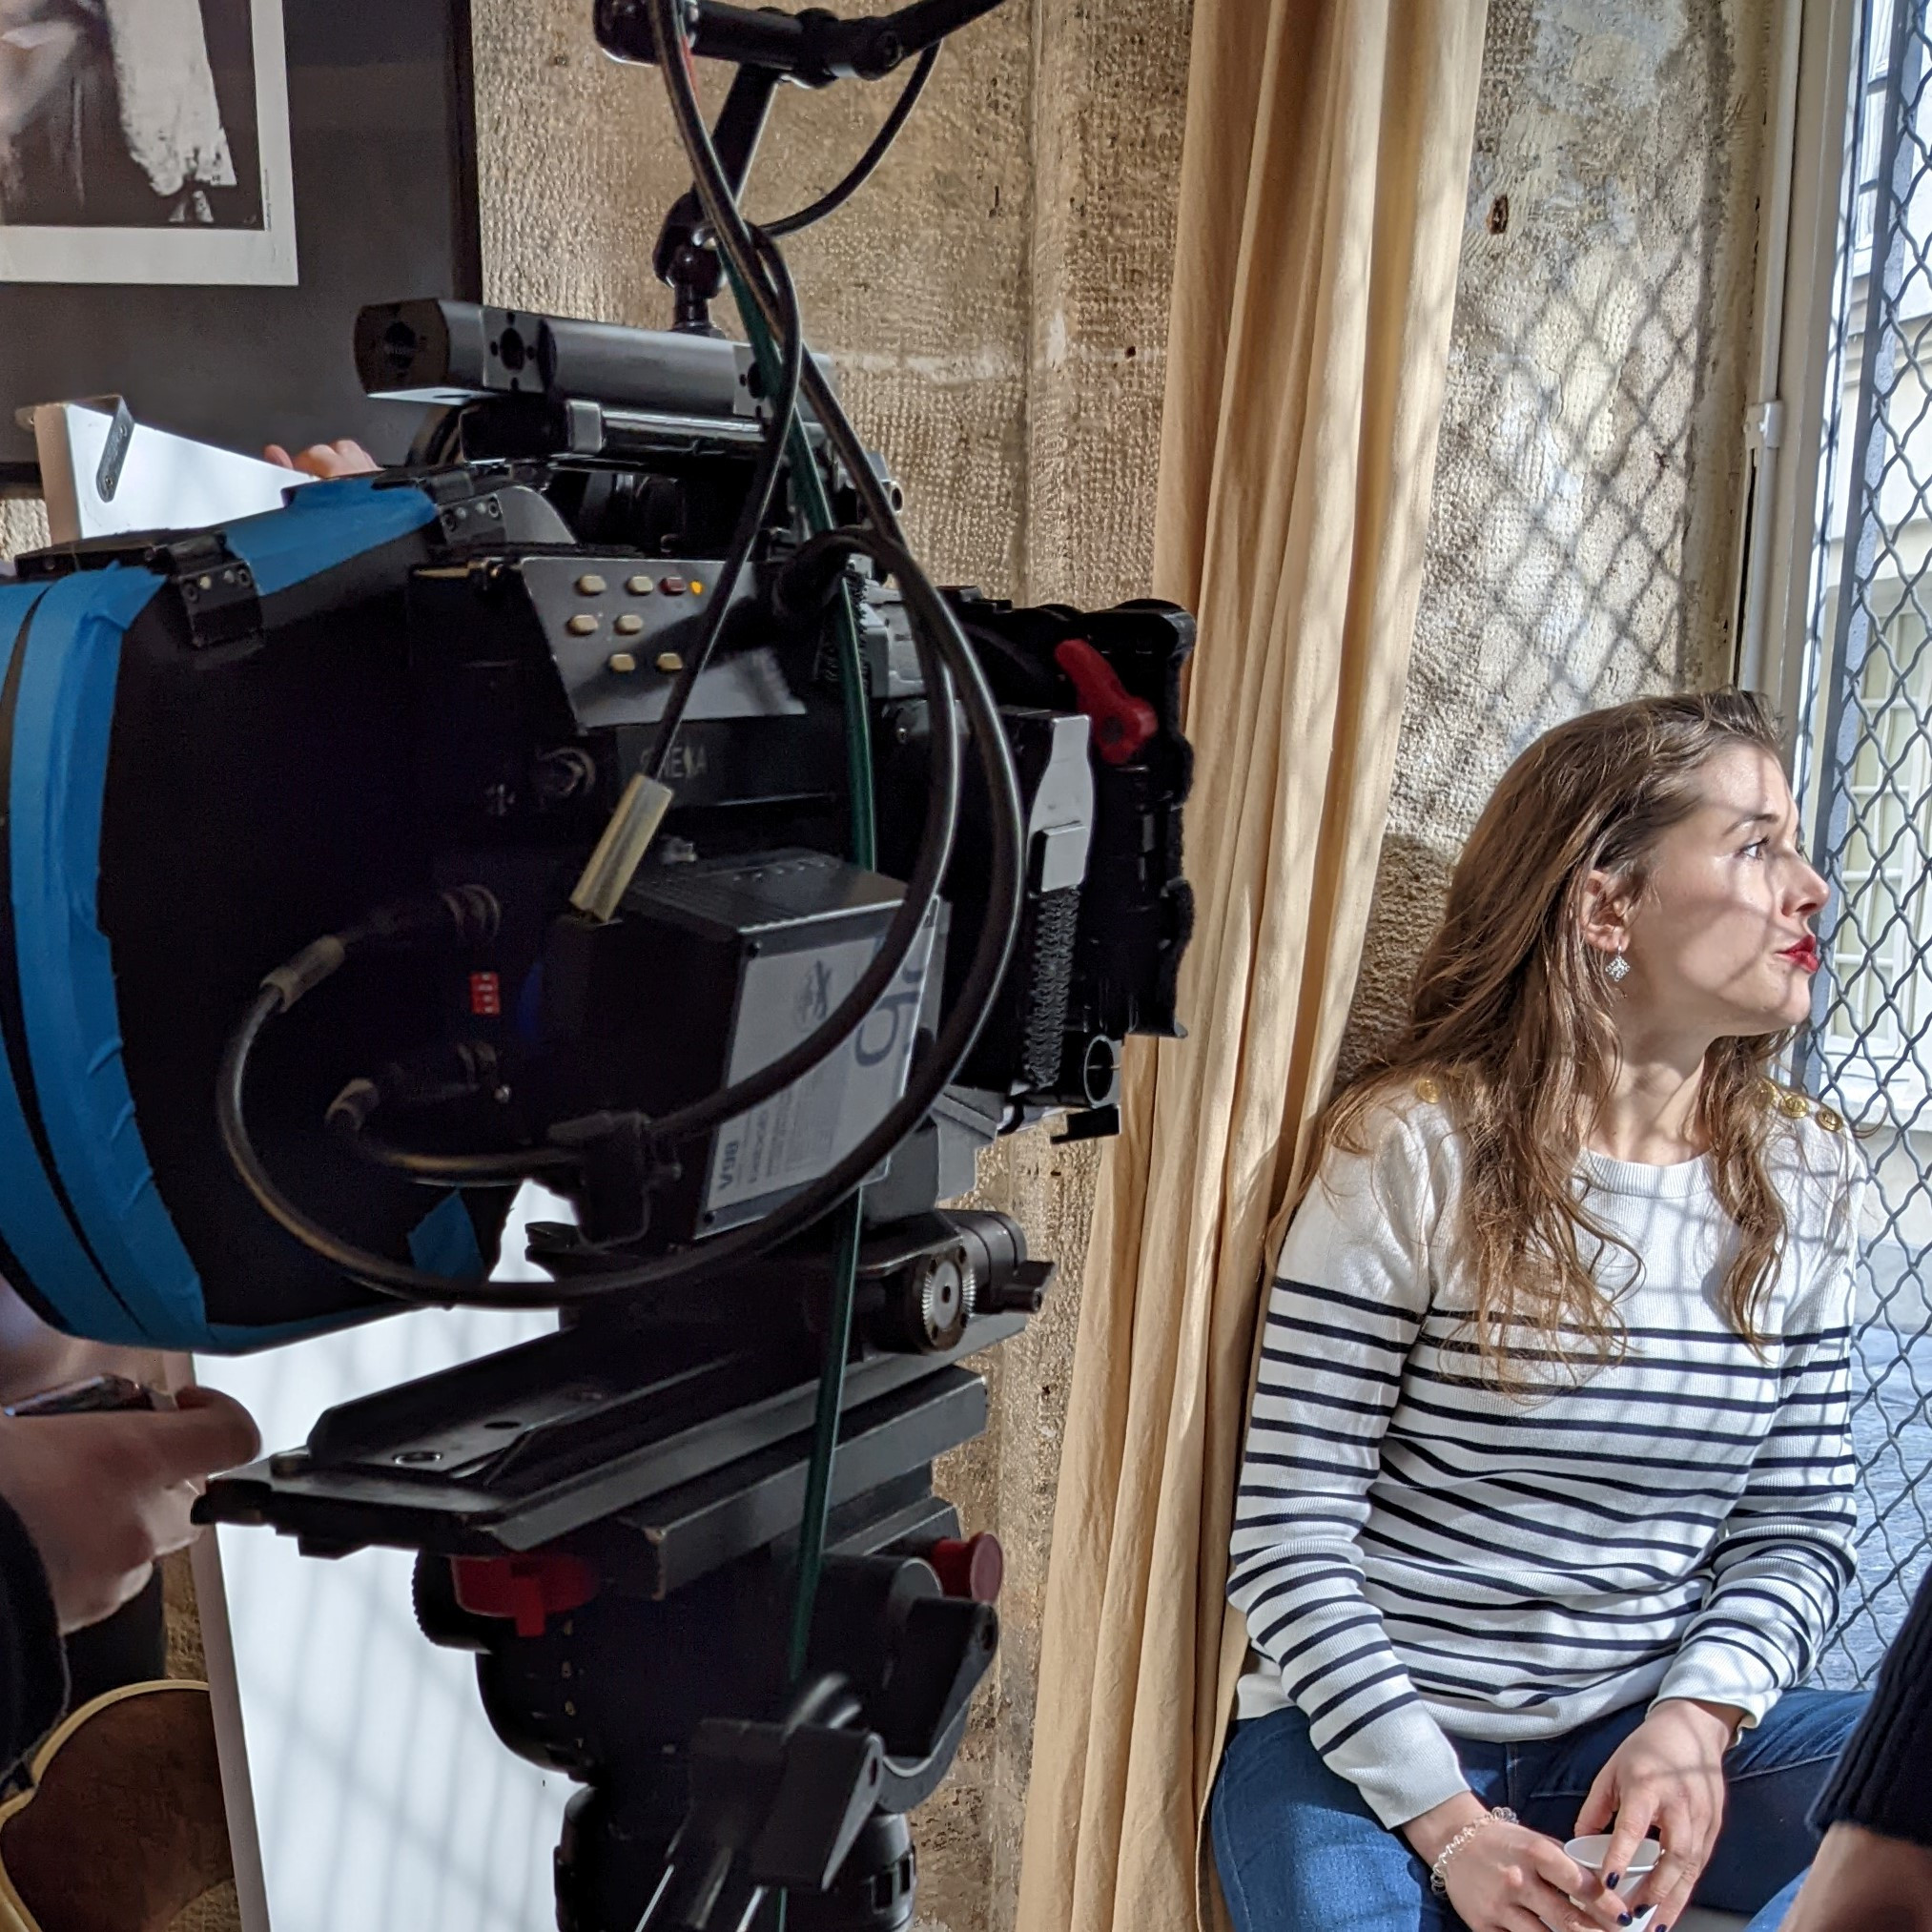
Charlotte aux fraises, le soir, à la volée.moutchou 23 Avril 2026
-
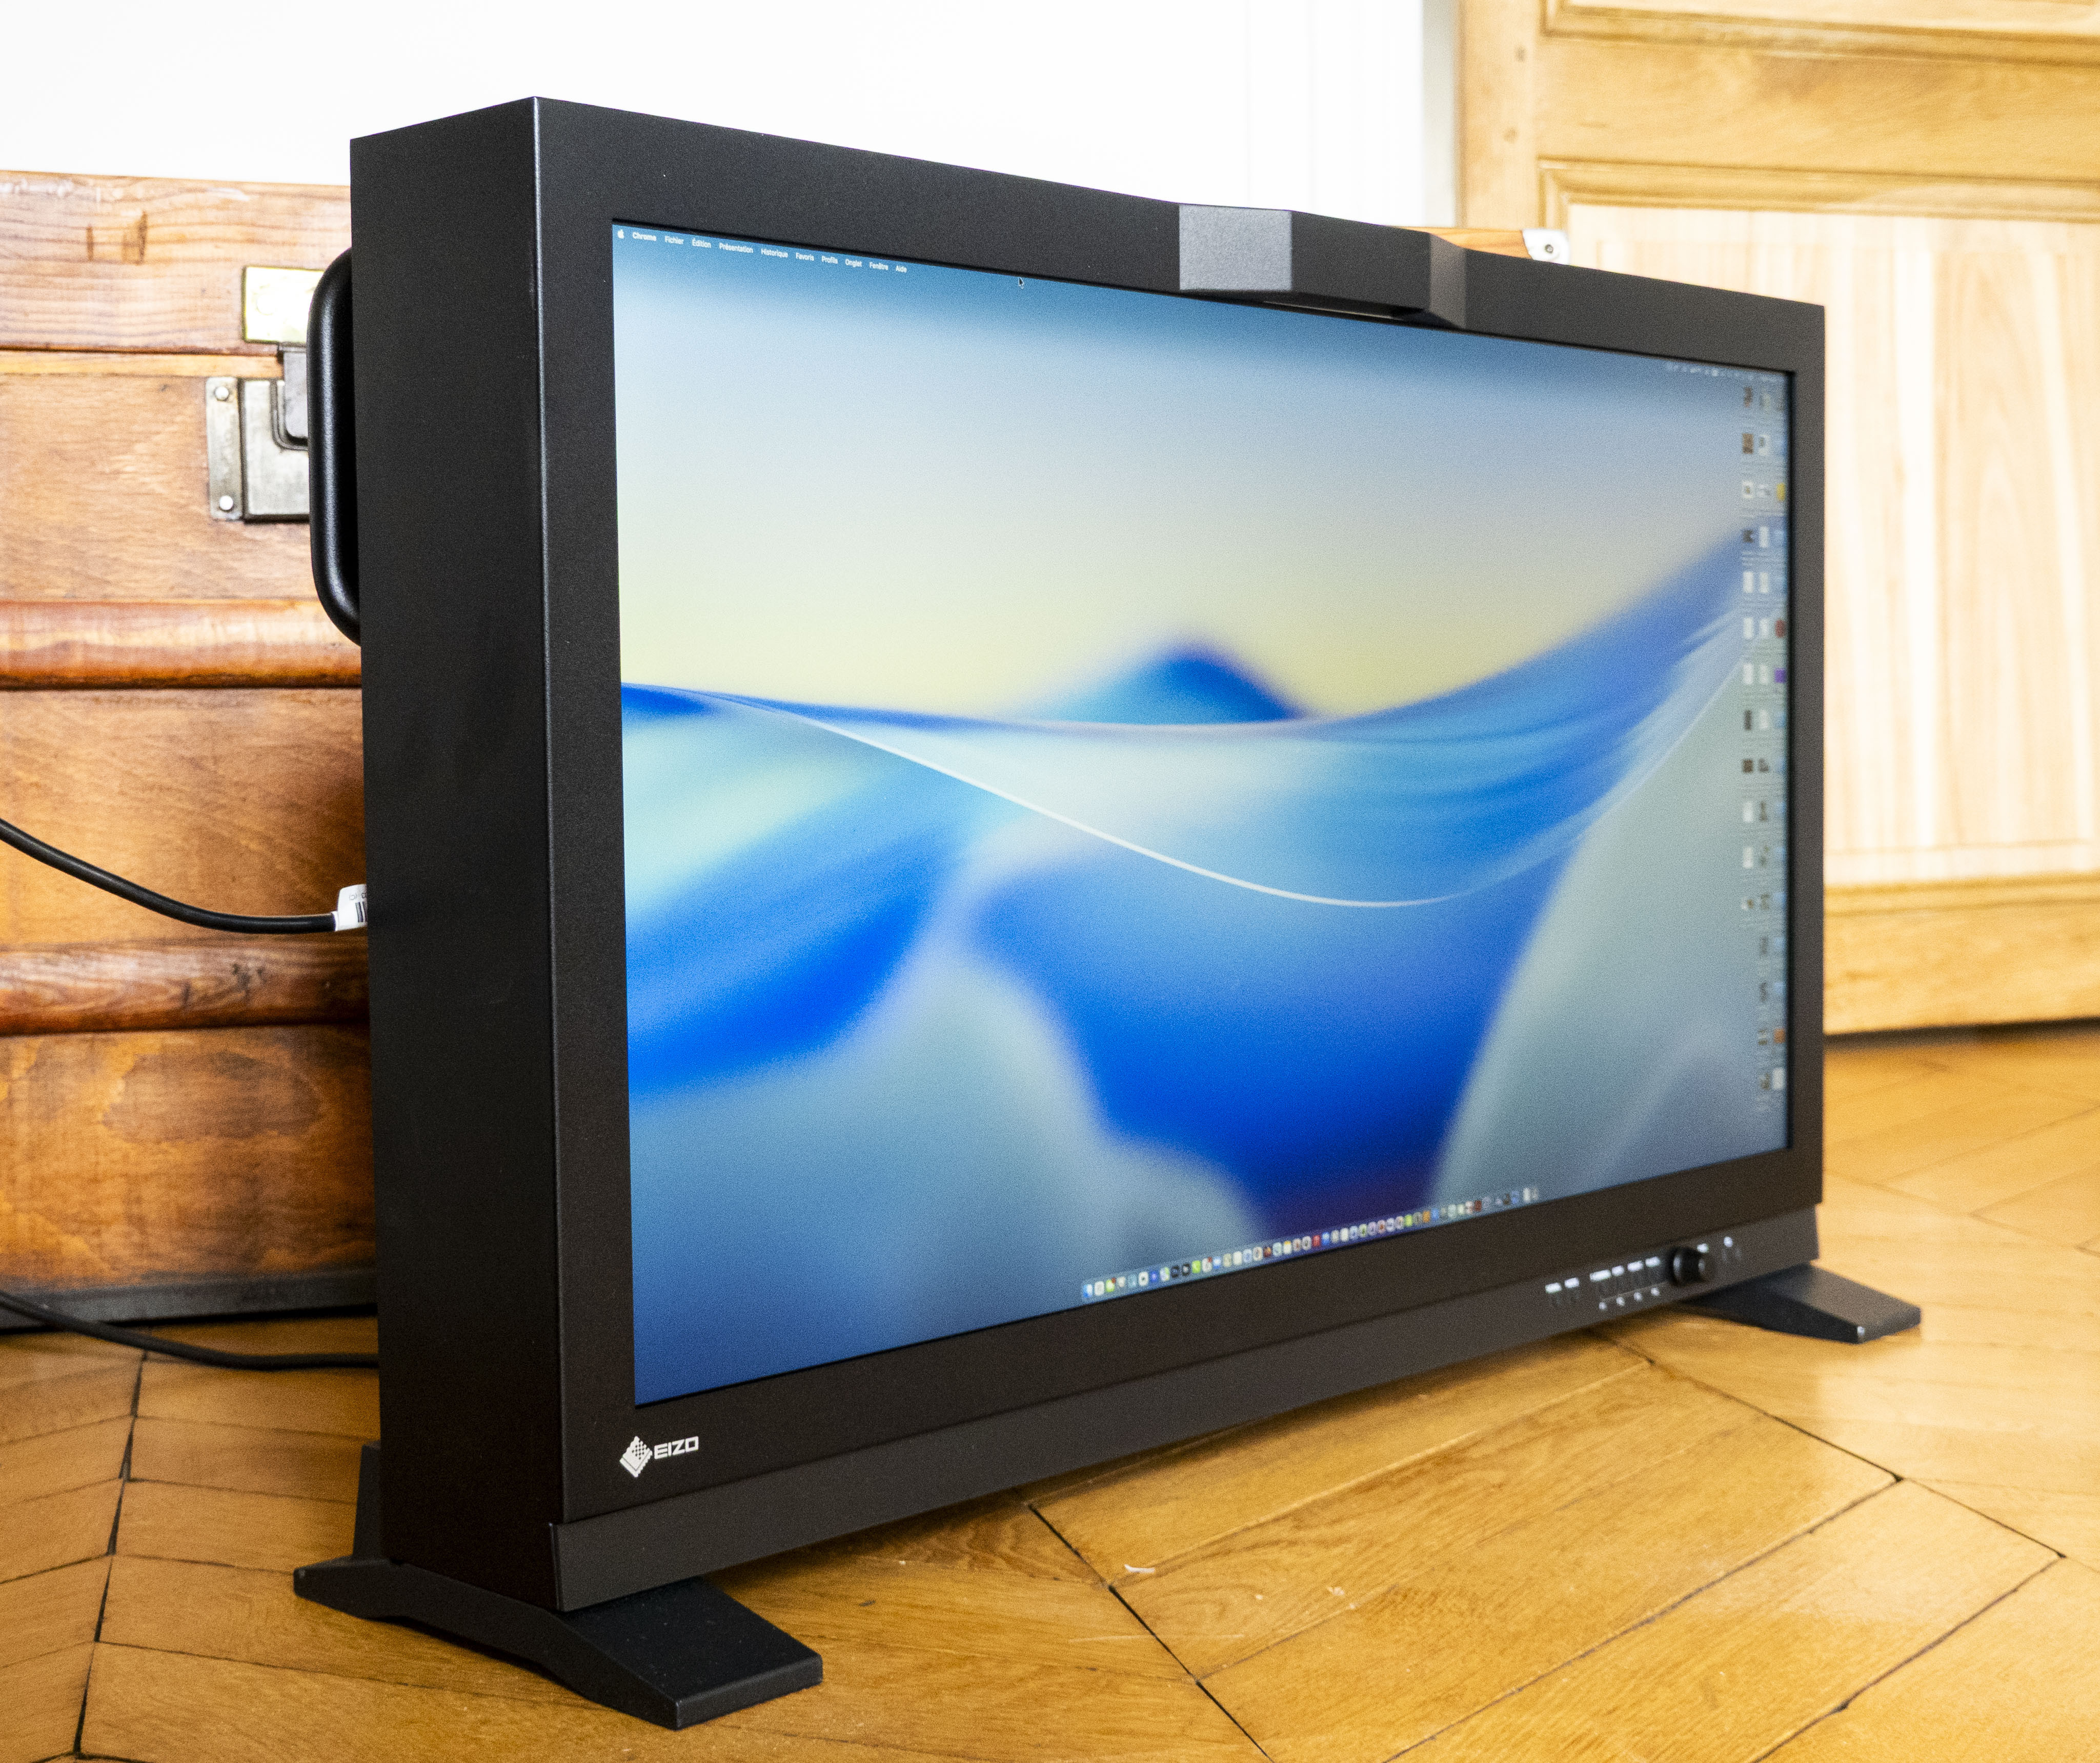
Choix d'un moniteur.Lippo 31 Mars 2026
-
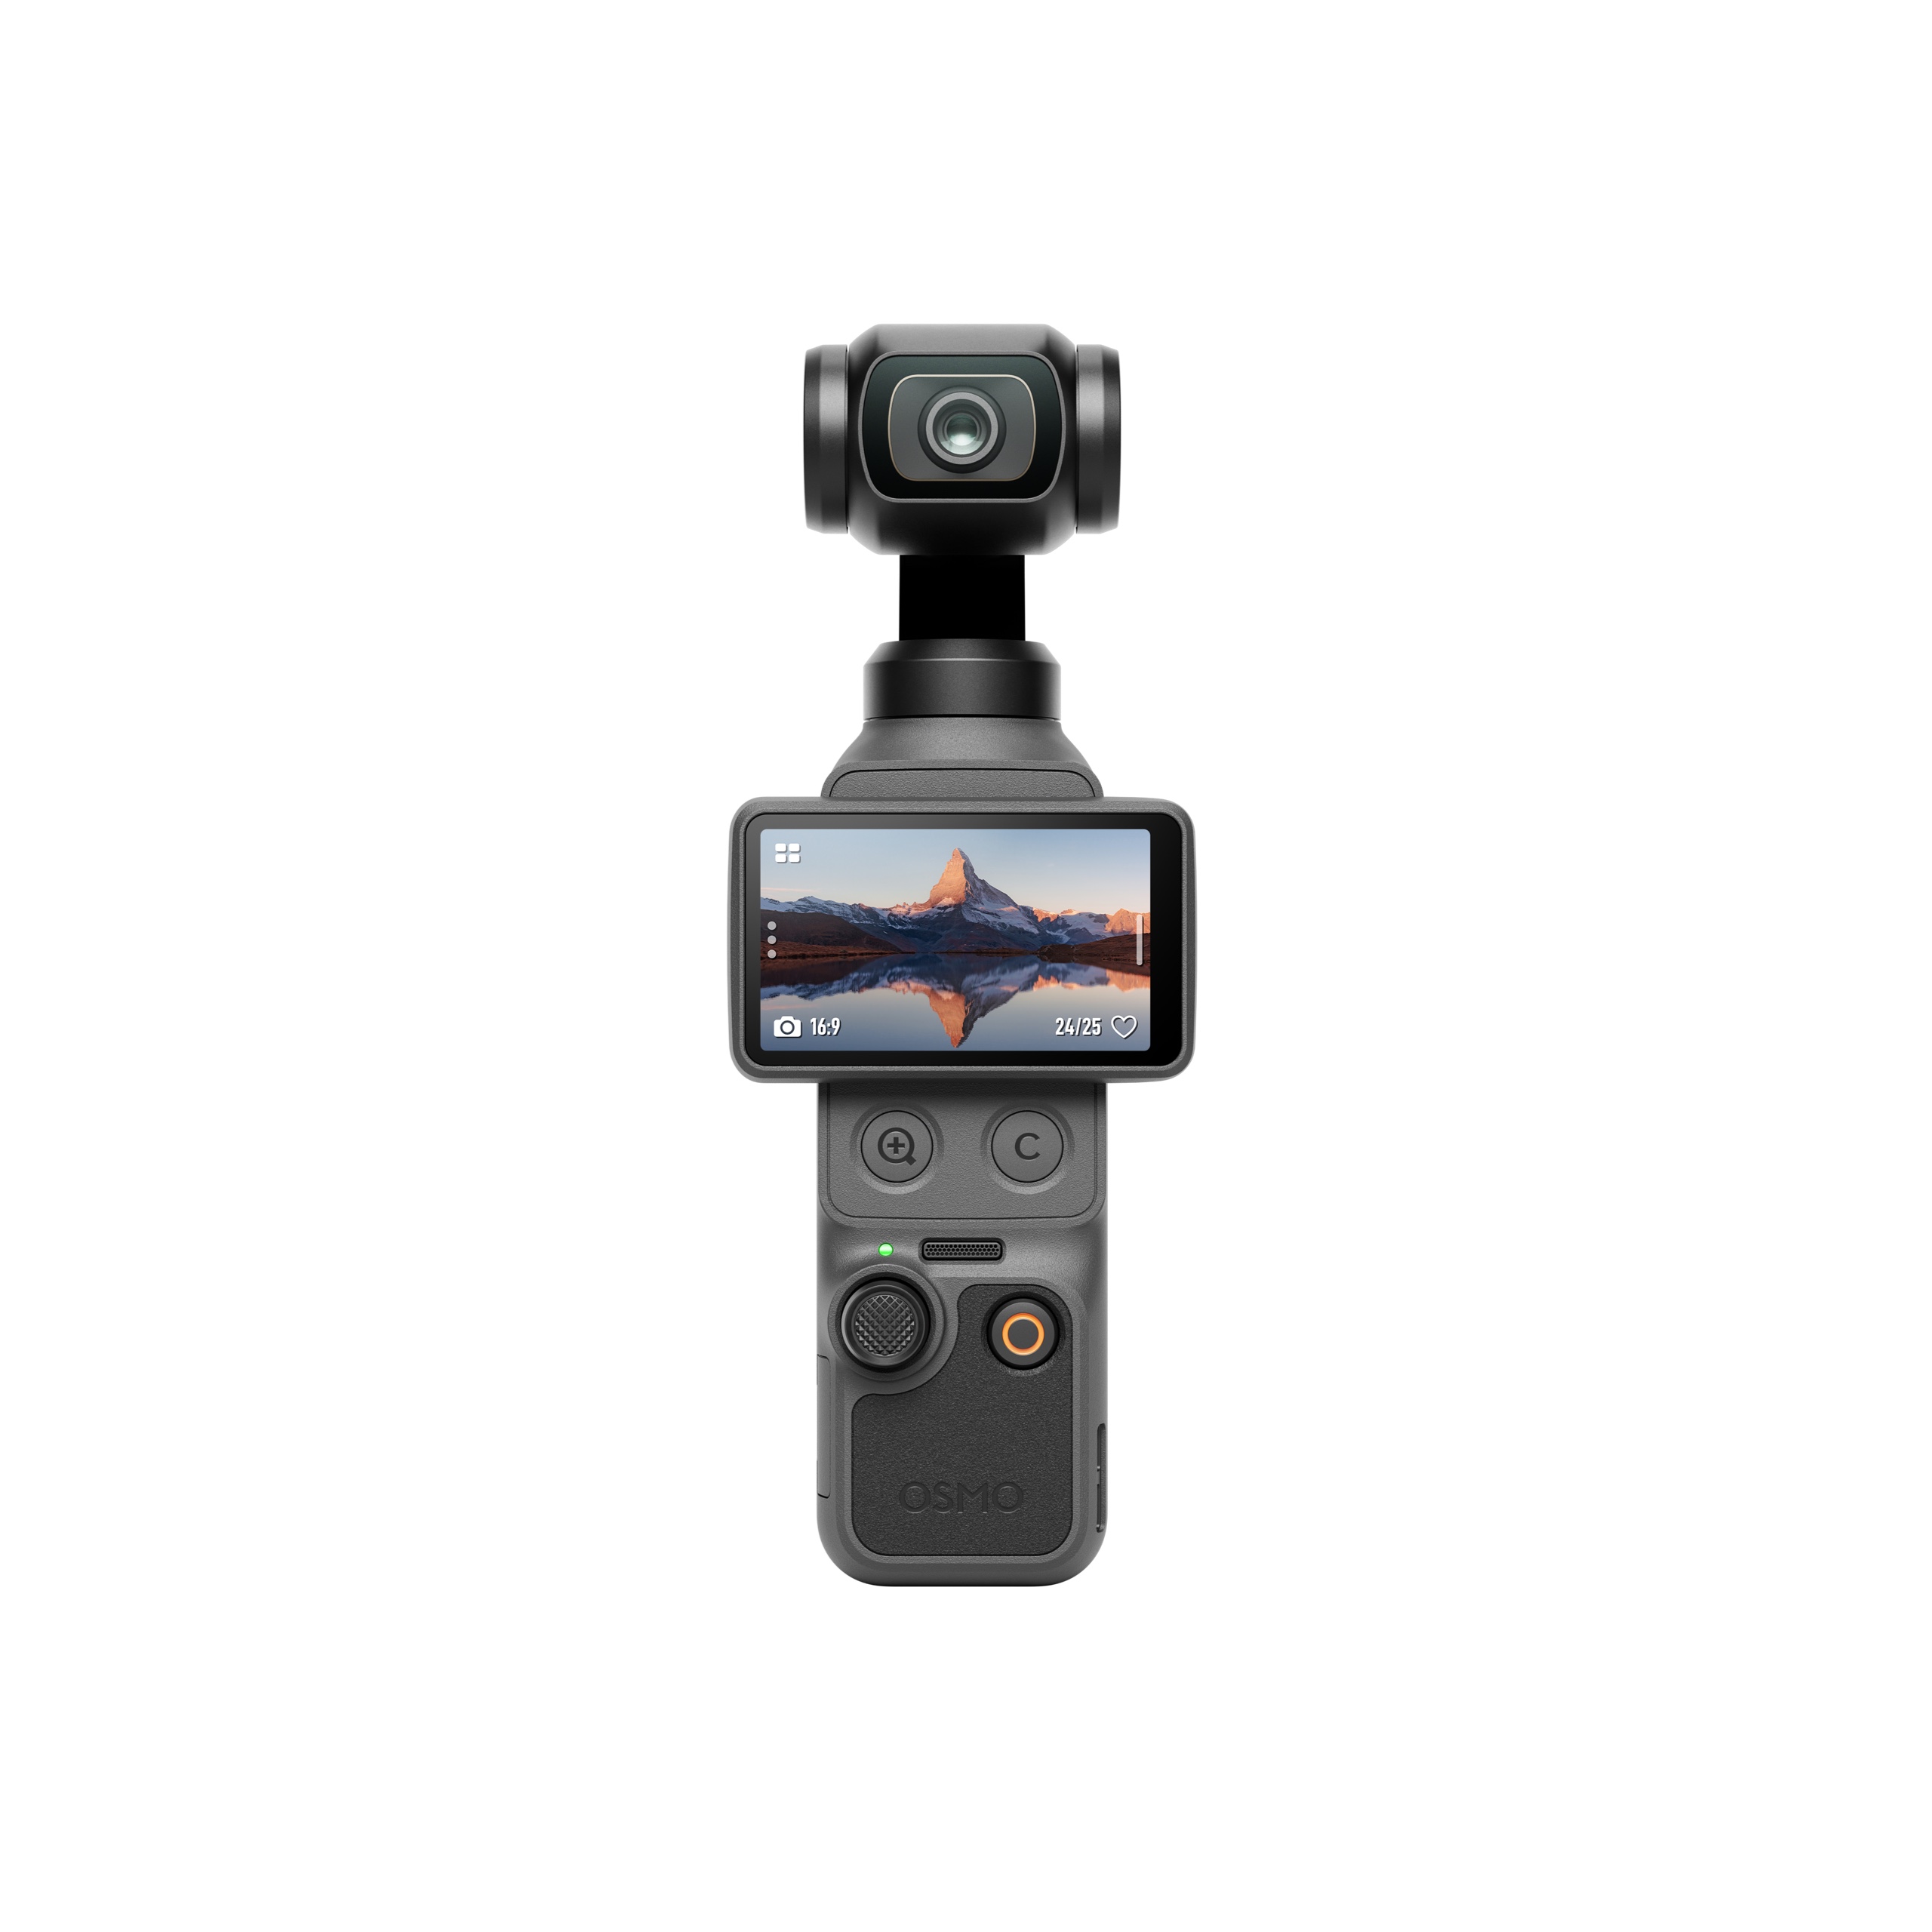
DJI Osmo Pocket 4 est làbcauchy 16 Avril 2026
-
Eclairage conférence cinemalearningstage 9 Avril 2026
-
Synchroniser iPhone avec Zoom H5lulabie 2 Avril 2026
Chargement... -
-
Chargement...
-
Chargement...
-
-
Sous-titrage avec Edius 10 ?Licioula 28 Avril 2026, à 16:04
-
Speed editor DVR utilisable dans EdiusLacombe 27 Avril 2026, à 17:58
-
[Shotcut] problème de volume sonoredr.Greenthumb 26 Avril 2026, à 01:05
-
Ingé son "beurre salé"AQW333 25 Avril 2026, à 09:33
-
Charlotte aux fraises, le soir, à la volée.moutchou 23 Avril 2026
Chargement... -


Dernières occasions
Dernières formations


Les actus et promos
-
 Publié parCanon France 1 Avril 2026
 -
 Publié parCanon France 6 Mars 2026
 -
 Publié parCanon France 6 Octobre 2025
Vous souhaitez annoncer sur le Repaire ? Contactez-nous
-
-
Publié parLucas.janiszewski 16 Avril 2026
-
Publié parLucas.janiszewski 16 Avril 2026
-
Publié parLucas.janiszewski 14 Avril 2026
-
-
-
Publié parMarina 15 Janvier 2026
-
Publié parMarina 29 Octobre 2025
-
Publié parmaximetrage 19 Septembre 2025
-
-
-
Charlotte aux fraises, le soir, à la volée.moutchou 23 Avril 2026
-
Choix d'un moniteur.Lippo 31 Mars 2026
-
DJI Osmo Pocket 4 est làbcauchy 16 Avril 2026
Chargement... -
-
-
- Réponses:
- 33
- Nb. vues:
- 952
-
[VotreAvis] Mise a jour DVR Studio 21
- Réponses:
- 14
- Nb. vues:
- 482
-
- Réponses:
- 1
- Nb. vues:
- 182
Chargement... -
-
-
[Shotcut] problème de volume sonorebcauchy a répondu 29 Avril 2026, à 23:52
-
Sous-titrage avec Edius 10 ?Licioula a répondu 29 Avril 2026, à 20:26
-
DJI Osmo Pocket 4 est làopop a répondu 28 Avril 2026, à 20:40
Chargement... -