

Chef-op et XDCAM...
Discussion dans 'Professionnels - entreprises' créé par CameraCrew, 7 Mars 2004.
- Statut de la discussion:
- Fermé pour nouveaux messages
Page 12 sur 12
Page 12 sur 12
Chargement...
- Discussions similaires - Chef XDCAM
-

- Réponses:
- 15
- Nb. vues:
- 663
-
- Réponses:
- 8
- Nb. vues:
- 599
-

- Réponses:
- 0
- Nb. vues:
- 613
-

[Problème] MXF XDCAM 50 Mbps
- Réponses:
- 10
- Nb. vues:
- 2 847
-
- Réponses:
- 3
- Nb. vues:
- 1 698
-
-
 Publié parLucas.janiszewski 26 Juin 2026
 -
 Publié parLucas.janiszewski 11 Juin 2026
 -
 Publié parLucas.janiszewski 10 Juin 2026
 -
 Publié parLucas.janiszewski 4 Juin 2026
 -
 Zeiss Horizon x2 : des moteurs de point et d'iris intégrés dans l'optique, pour cette nouvelle sériePublié parLucas.janiszewski 4 Juin 2026
-
-
-
 Publié parGRG 26 Juin 2026
 -
 Publié parGRG 7 Mai 2026
 -
 Publié parmaximetrage 19 Septembre 2025
 -
 Publié parClmR 18 Juillet 2025
 -
 Publié parValentin Hautot 18 Juillet 2025
-
-
-
 Publié parLucas.janiszewski 11 Février 2026
 -
 Publié parRepaire 31 Mai 2023
 -
 Publié parRepaire 20 Février 2023
 -
 Publié parRepaire 20 Janvier 2023
 -
 Publié parRepaire 20 Décembre 2022
-
-
-
 Publié parRepaire 26 Juin 2026
 -
 Publié parRepaire 22 Mai 2026
 -
 Publié parMarina 15 Janvier 2026
 -
 Publié parMarina 29 Octobre 2025
 -
 Publié parmaximetrage 19 Septembre 2025
-
-
-
Teaser : Un Silencieuxf.comme.phab 9 Juin 2026
-
Qualité Youtube trop déterioréemarthmania 27 Juin 2026
-
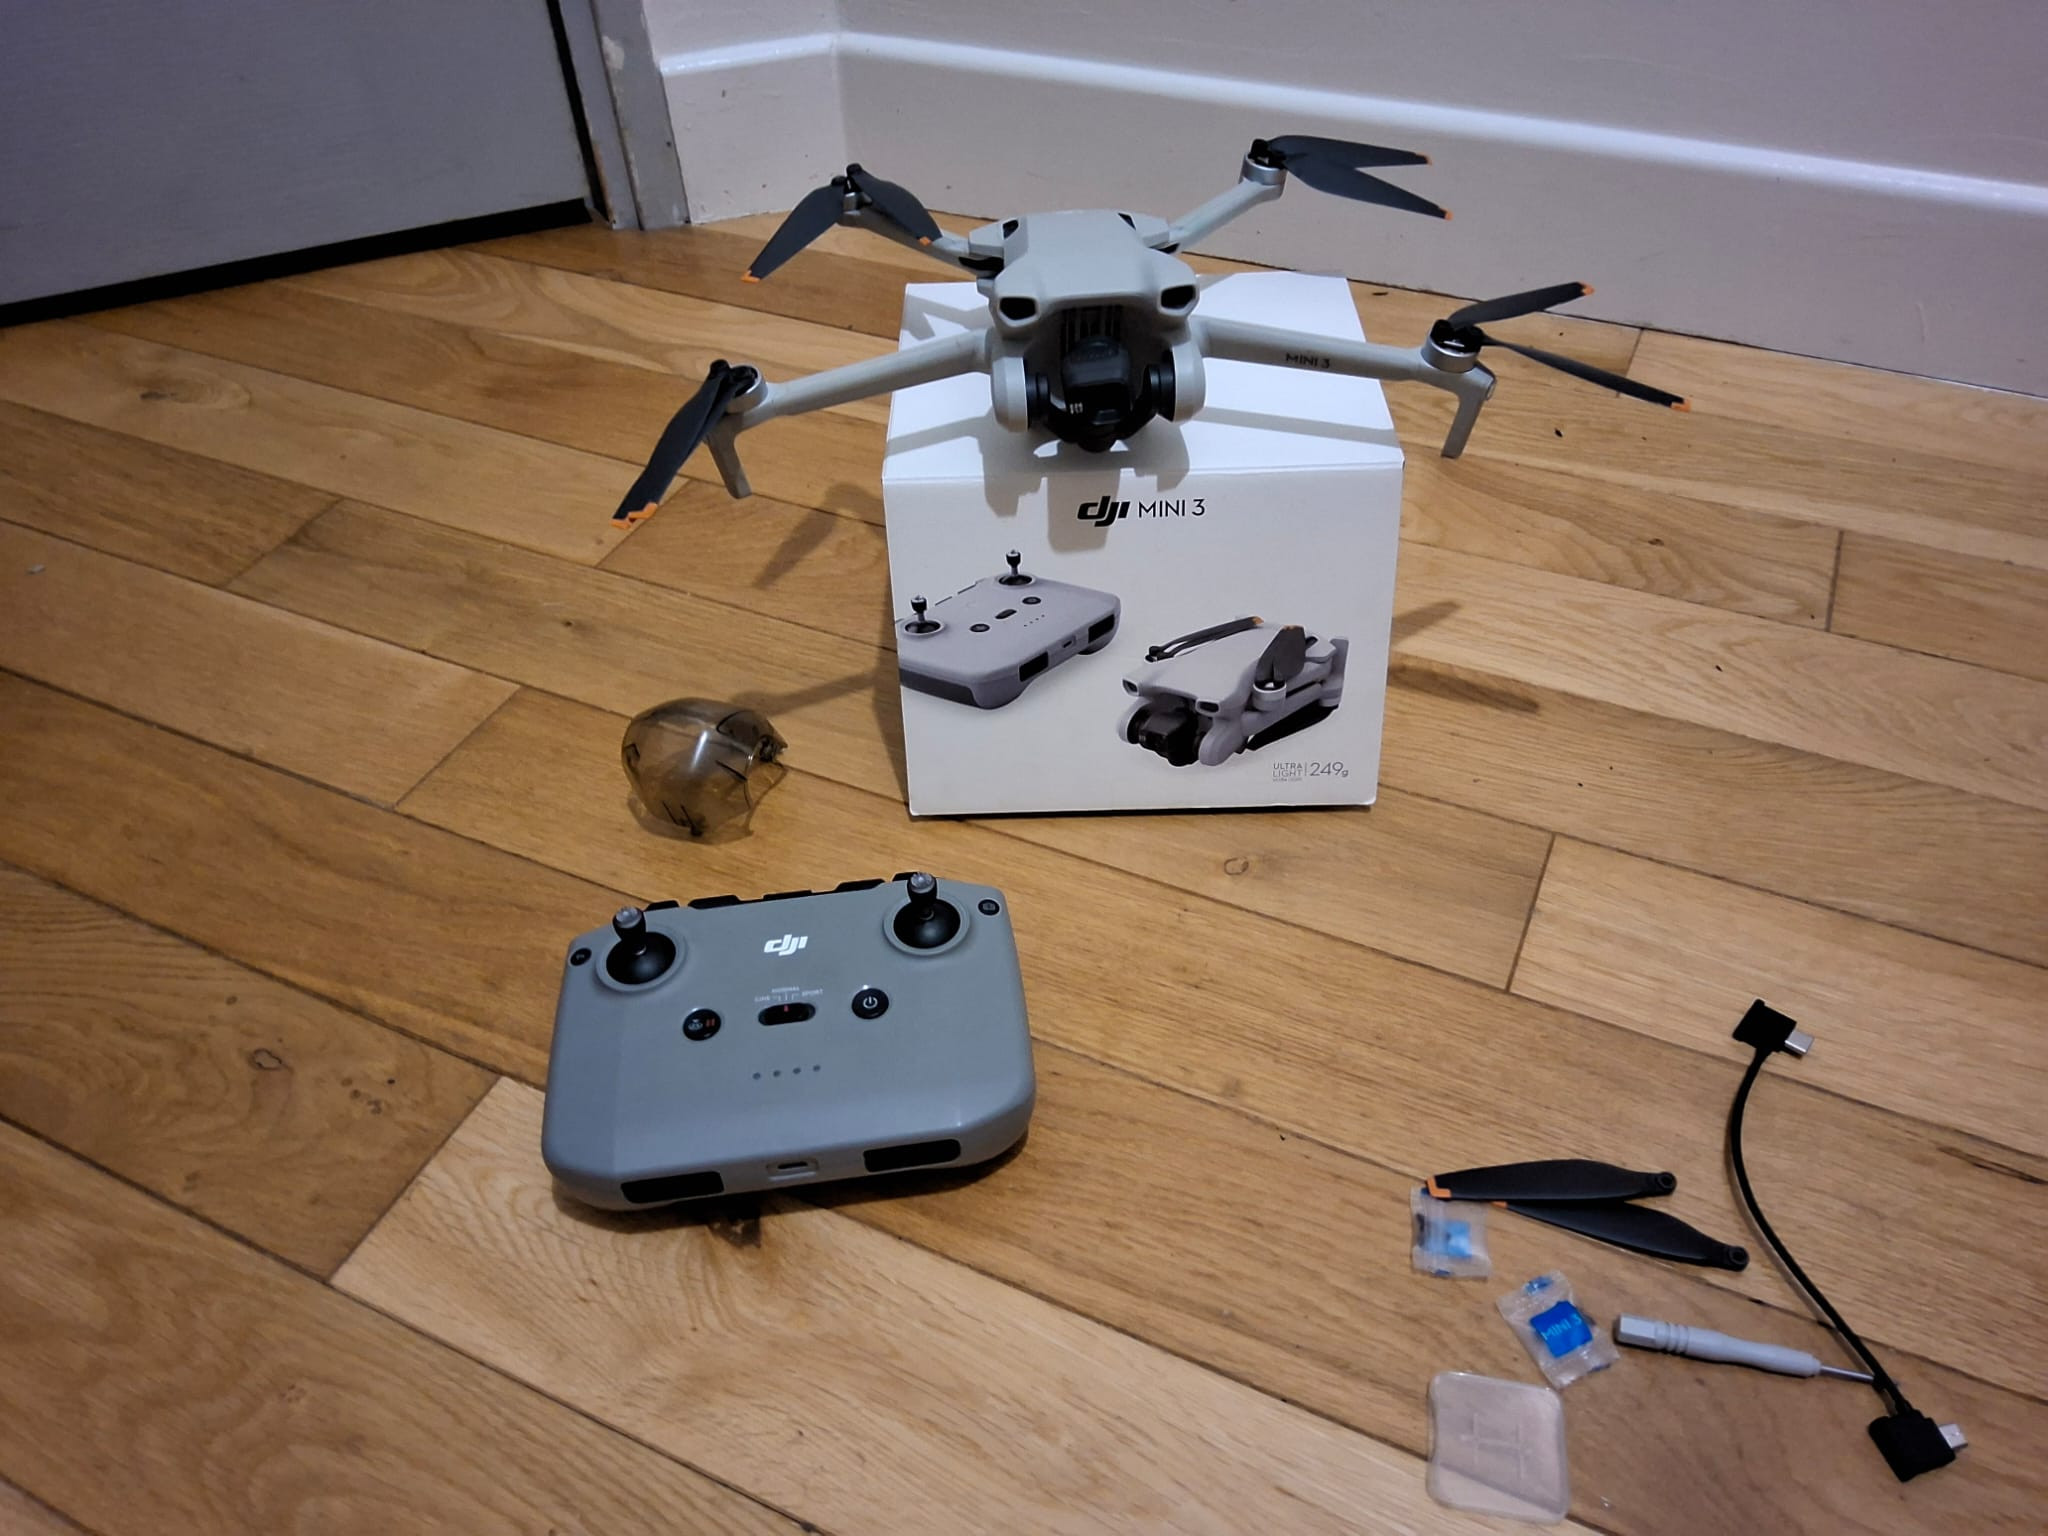
l'Insta360 Luna Ultra : sur le terrain de DJIAQW333 13 Juin 2026
-
L'acquisition du plastron orange chez le Rouge-gorge familiersvt 5 Juillet 2026, à 09:26
-
Voilà l'été - 21 juin 2026svt 19 Juin 2026
Chargement... -
-
Chargement...
-
Chargement...
-
-
L'acquisition du plastron orange chez le Rouge-gorge familiersvt 5 Juillet 2026, à 09:26
-
Shotcut : après 3 ans d'absence, le mode double écran est de retour.JLH 37 4 Juillet 2026, à 10:04
-
FCP 12.3Lolive67 1 Juillet 2026
-
Courroie projecteur Comet P126 dualruiz.a 30 Juin 2026
-
Oiseau en vol, test de débutantJean-Mi 30 Juin 2026
Chargement... -


Dernières occasions


Dernières formations


- Statut de la discussion:
- Fermé pour nouveaux messages
Les vidéos Partenaires
-
 Publié parNikon France 3 Juillet 2026, à 15:39
 -
 Publié parNikon France 3 Juillet 2026, à 15:39
 -
 Publié parNikon France 3 Juillet 2026, à 15:39
Vous souhaitez annoncer sur le Repaire ? Contactez-nous
-
-
Publié parLucas.janiszewski 26 Juin 2026
-
Publié parLucas.janiszewski 11 Juin 2026
-
Publié parLucas.janiszewski 10 Juin 2026
-
-
-
-
Teaser : Un Silencieuxf.comme.phab 9 Juin 2026
-
Qualité Youtube trop déterioréemarthmania 27 Juin 2026
-
l'Insta360 Luna Ultra : sur le terrain de DJIAQW333 13 Juin 2026
Chargement... -
-
-
- Réponses:
- 15
- Nb. vues:
- 436
-
[Débutant] Oiseau en vol, test de débutant
- Réponses:
- 11
- Nb. vues:
- 294
-
- Réponses:
- 6
- Nb. vues:
- 263
Chargement... -
-
-
L'acquisition du plastron orange chez le Rouge-gorge familiersapiens a répondu 7 Juillet 2026, à 20:43
-
Dji Mic3bcauchy a répondu 5 Juillet 2026, à 20:00
-
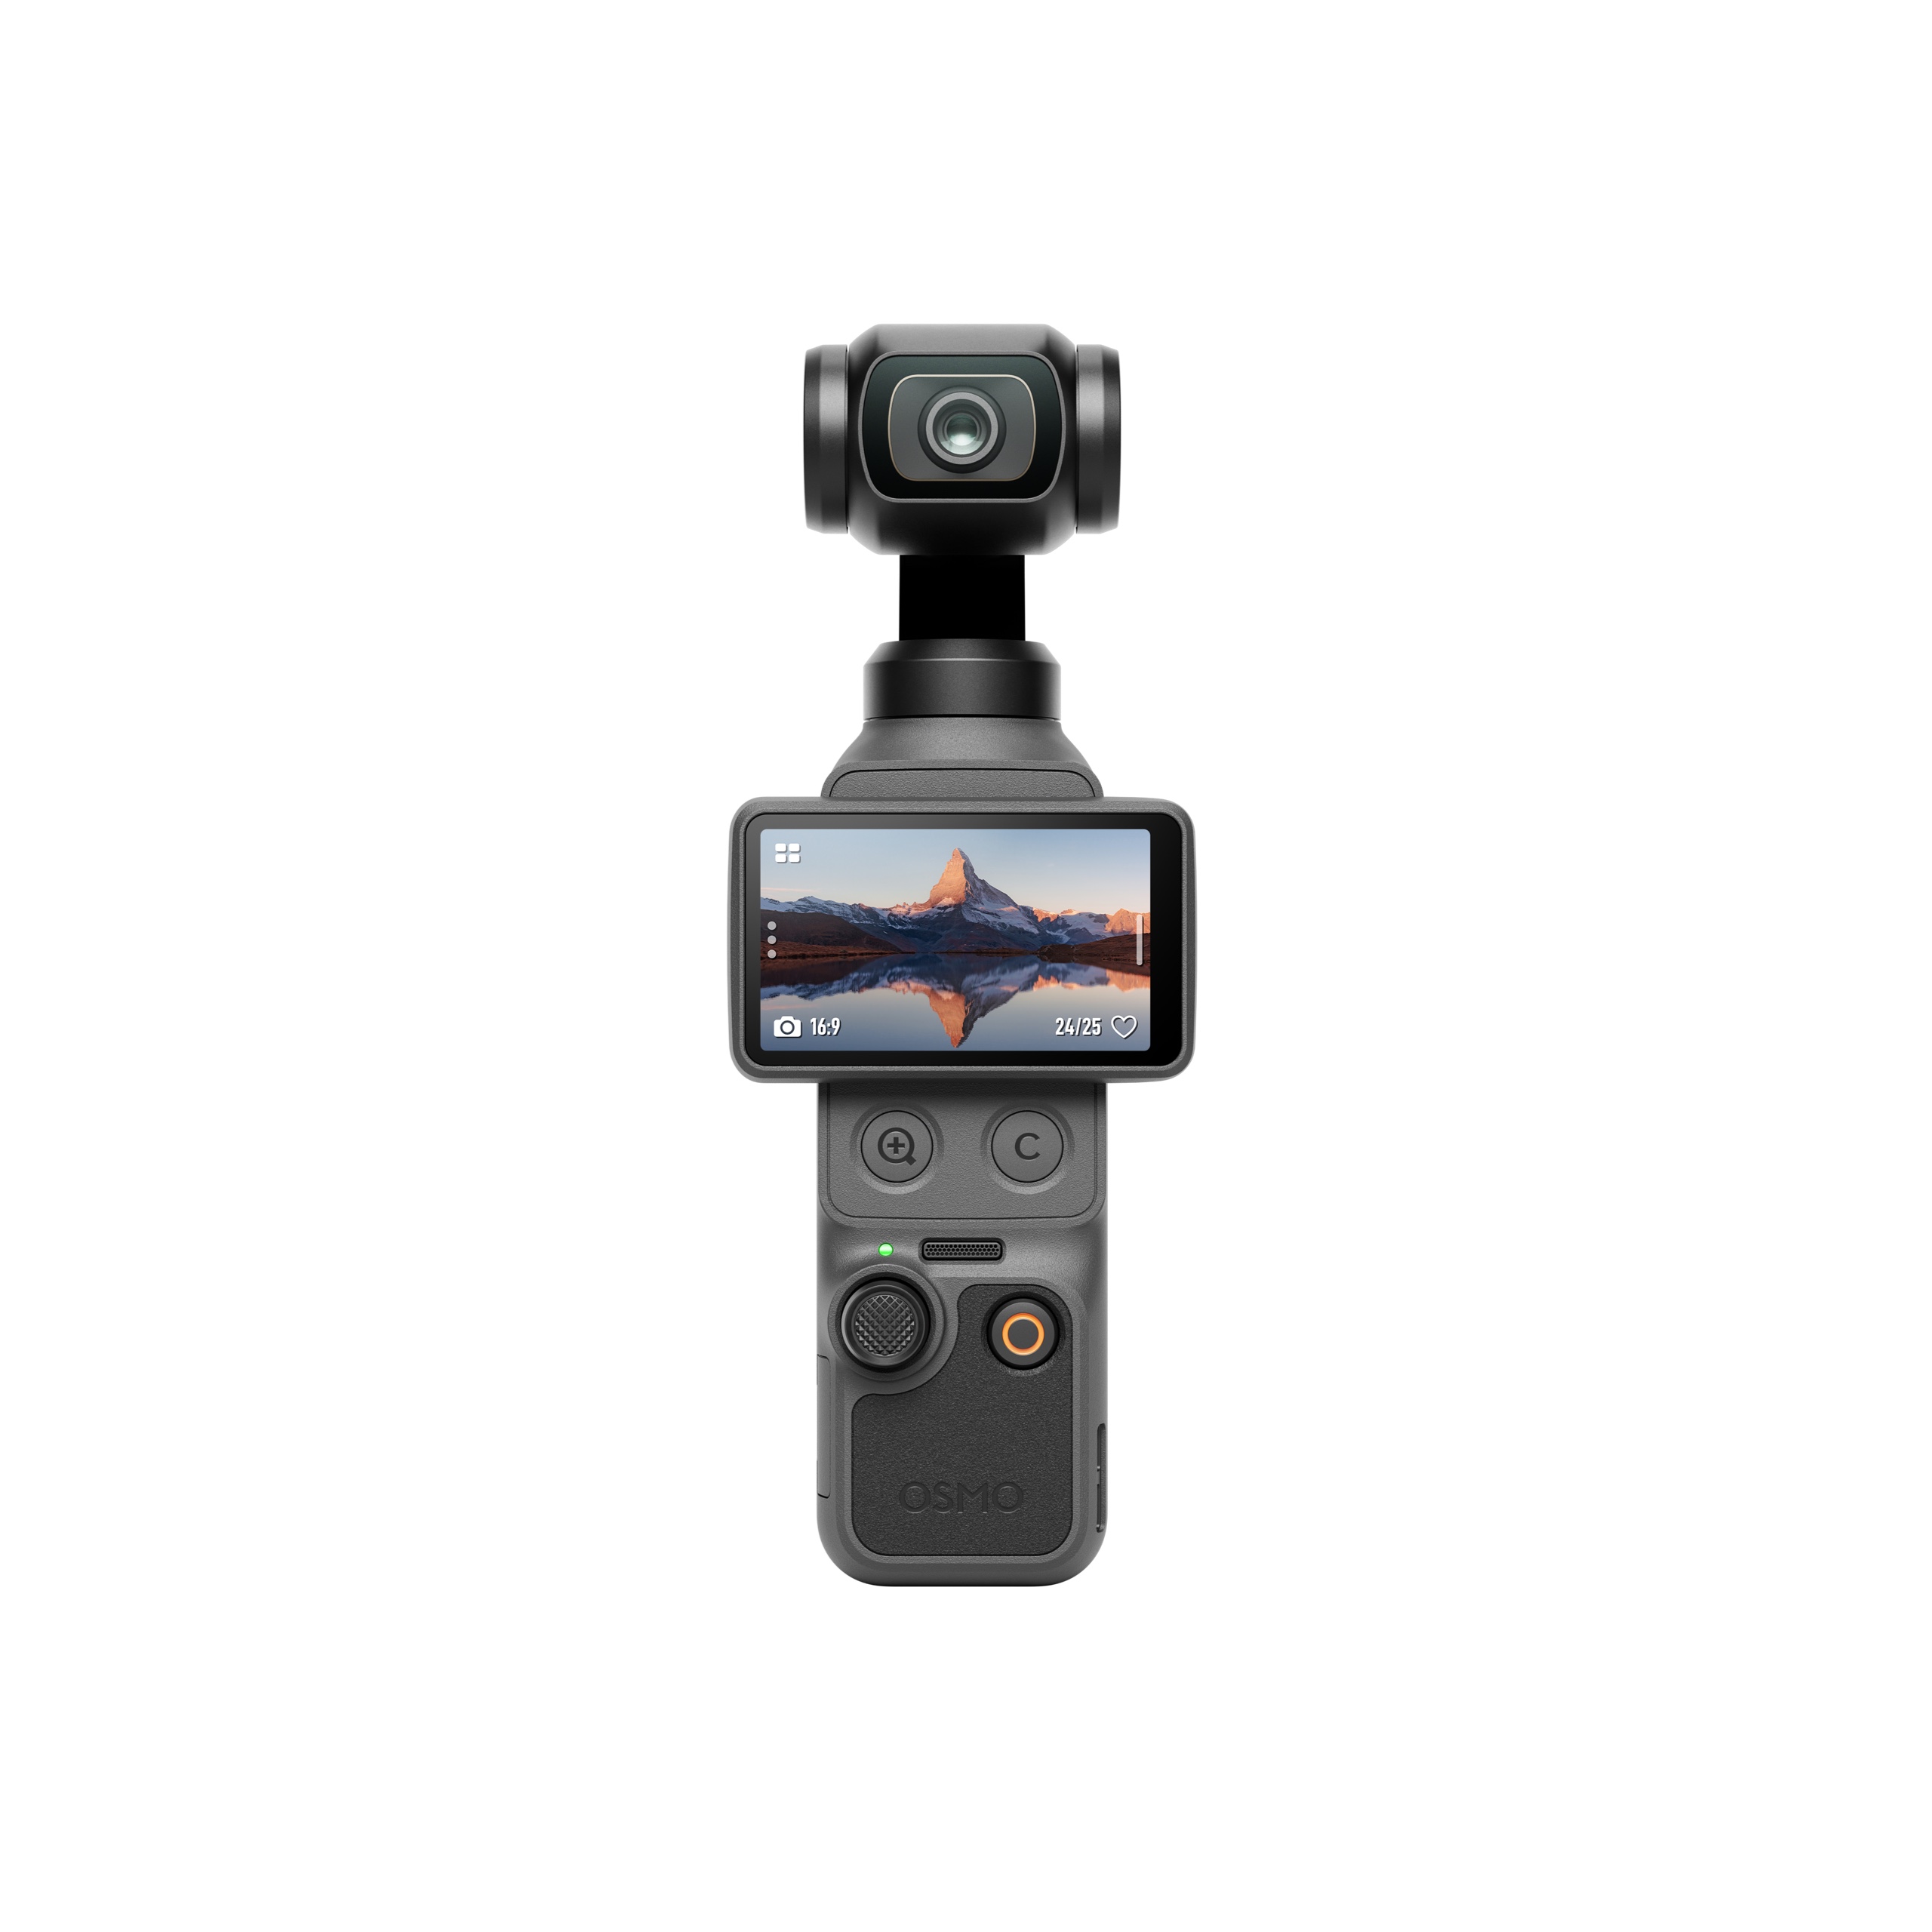
DJI Osmo Pocket 4 est làbcauchy a répondu 5 Juillet 2026, à 17:15
Chargement... -