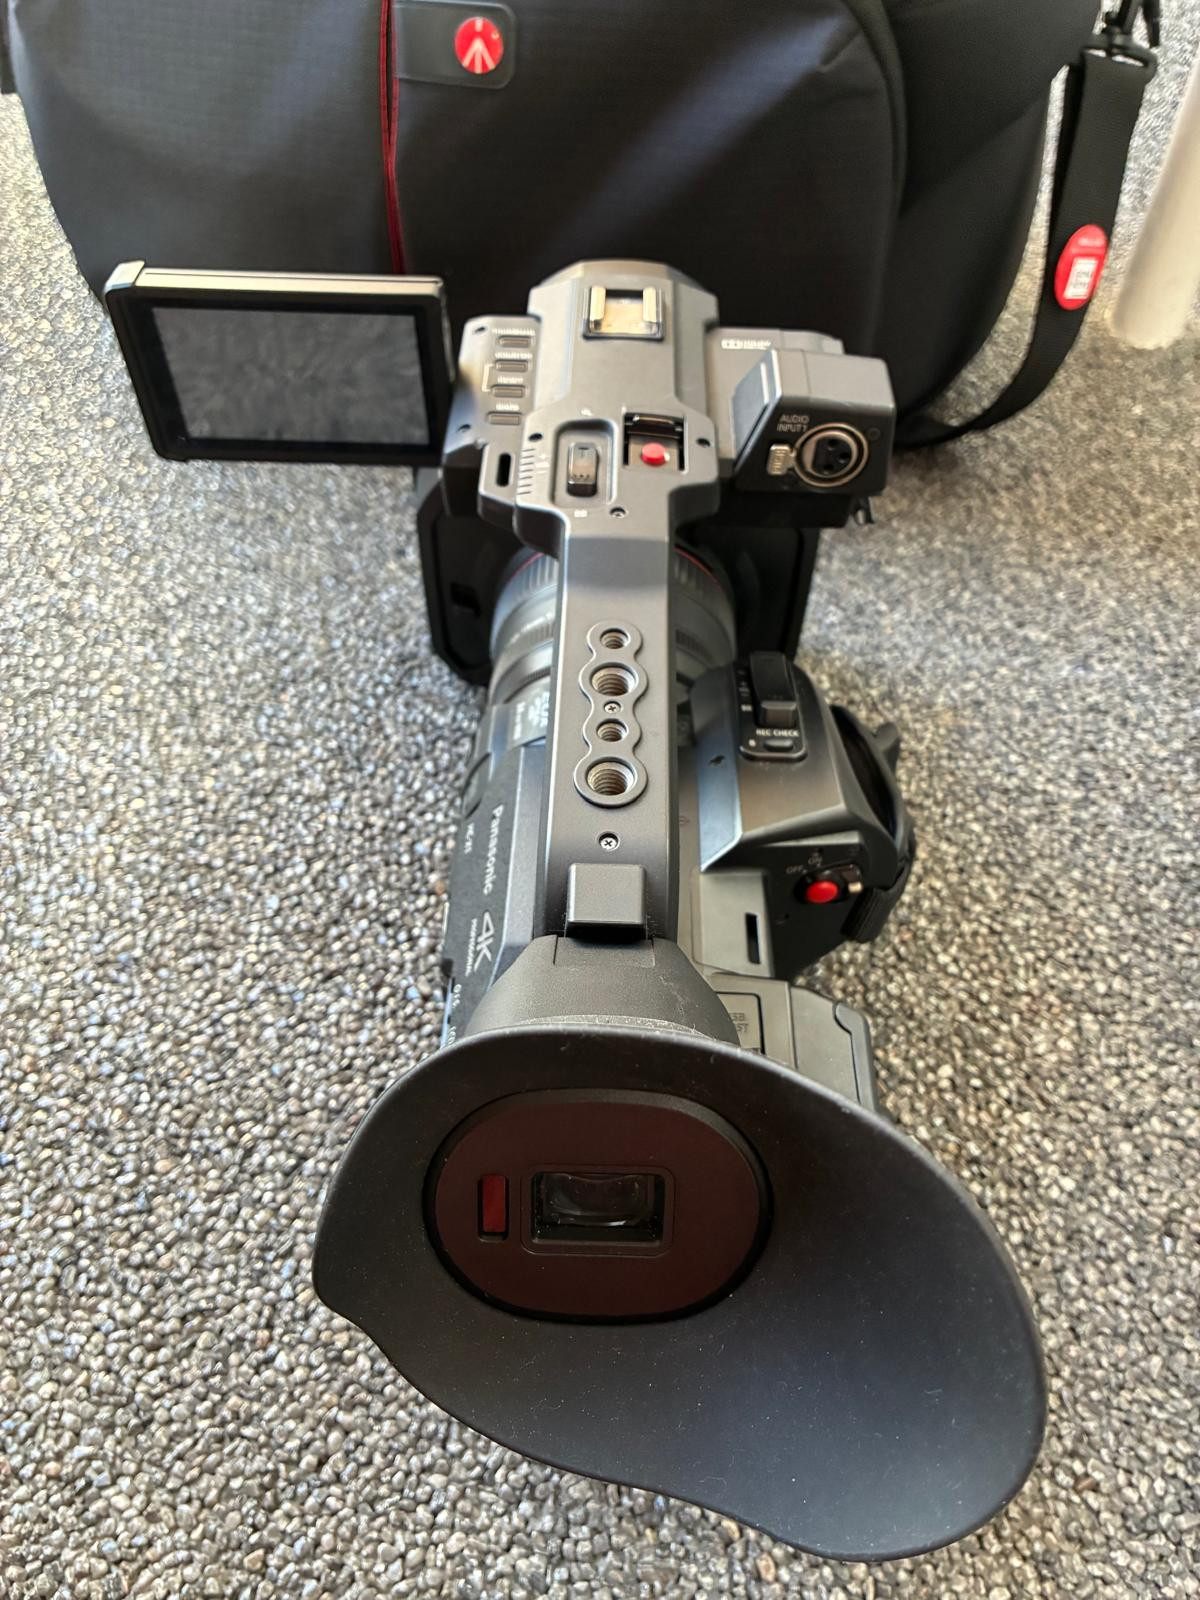
module inscription newsletter haut de page forum mobile

Dismiss Notice

formations etalonnage sur davinci resolve

Nos Formations Etalonnage avec Forest reviennent en octobre !
Adoptez une réelle méthodologie d'étalonnage professionnelle et atteignez vos objectifs créatifs avec nos formations intensives sur 3 jours
Toutes les infos
Dismiss Notice

Formation Lumière - Pratique Intensive du 14 au 16 octobre à Paris
Formez-vous avec cet atelier de pratique intensive dans des conditions exceptionnelles ! Formation finançable.
Toutes les infos

Ateliers et Formations

Trv900 Panne !!!!

Discussion in 'Astuces, bidouilles et bricolages' started by drupka, Oct 17, 2006.

Tags:
  1. drupka

    Trophy Points:
    100
    Likes Received:
    0
    Messages:
    5
    Appréciations:
    +0 / 0 / -0
    Bonjour a tous,
    Aprés de formidables services, ma trv900 c'est arrêtée.
    Ca a commencé dans le Gers, le temps étais gris,
    trés humide, j'ai mis la caméra au soleil le lendemain,
    elle a remarchée , puis au moment de derusher mes images,
    au bout de la 4eme K7 elle c'est arrêtée de fonctioner.
    quand je la met en marche, j'entend un petit bruit comme ci la
    tête de lecture s'enclenchais, mais rien ne s'allume.
    D'aprés ce que j'ai lu sur differents forum c'est soit les condensateurs,
    ou un fusible. Quelqu'un sait ou ce trouve les fusibles sur cet caméra ?
    Aussi une K7 importante est bloquée dans la cam savais vous comment je peut la
    retirer ? :help:
     
  2. ozzor

    Trophy Points:
    1,100
    Likes Received:
    0
    Messages:
    675
    Appréciations:
    +0 / 0 / -0
    Bonjour, cela depend de tes capacités en mécanique fine. Il y a aussi le problème de l'electronique. Pour ta cassette à enlever, ce n'est pas le plus compliqué: il y a 2 petites vis sur le couvercle, les enlever et faire sauter le verrou. Je te conseille de voir tout de même un spécialiste pour faire ce travail. Dans la rubrique Sony et recherches tu trouveras les plans de ta machine et de l'aide pour le dépannage.
    TRV900 Cleaning and Maintenance


    The Cause of Tape Crinkles.
    Jerry's Camera Cleaning for Crinkle Prevention
    John's Illustrated Guide to Camera Cleaning
    Steven's Head and Tape Path Cleaning, Step by Step
    Solvents for Tape Residue, an Opinion
    C-Mech Service Manual p.23: head cleaning
    One Cause of Audio Dropouts (tape transport).
    Another audio problem (internal mics).
    How to replace TRV900 internal mics.
    Tape Crease: a note
    Sony Head Cleaning Tech Notes
    VCR care suggestions at sony-media.com
    Other Reports of tape crinkles
    Help, I spilled soda on my camera
    TRV900 internals photos of complete TRV900 disassembly (Dutch site)

    On Nov. 2 1999, I had my TRV900 running unattended> recording a dance performance. It ran longer than expected so the tape ran to the very end. I was using a fresh Pansonic 60-minute tape just out of the wrapper, which had not been retensioned prior to use. After recording on the tape, I rewound to the beginning. I think the tape damage happened as I started to rewind: I was taking the camera off the tripod and may have been rotating the camera as it was rewinding.
    The tape played back normally, but in the last five minutes of the tape playback (from about 0:55:00 to 1:02:00) there were quite a few audio dropouts and a few video dropouts. These were the first audio drops I've ever heard, having recorded over 50 tapes in my camera. When I started to rewind the tape after viewing, I immediately heard a "crinkle" sound, then almost immediately the tape stopped and the display flashed C:31:23. Error 23 means "S reel emergency during normal rotation" according to p.5-59 of the TRV900 service manual. I tried the eject switch at this point and got a flashing C:32:20. According to the error list this means "T reel side tape slacking when unloading" which apparently equates to "tape jammed". All controls were now inoperable.
    Turning now to the regular user's manual, I observed on p. 130 that the C:31:xx and C:32:xx error codes indicate a "user servicible condition". It says to remove the tape and try again. No controls worked including tape eject, so that didn't help, but the second suggestion was to remove the battery and power cord, and plug it in again. I did this twice and the second time, the head made a clicking sound, the error message went away, and the eject switch became functional, allowing me to eject the tape. A few inches of tape were hanging out of the MiniDV cassette at this time. I rewound the tape onto the cassette with a pencil eraser against the takeup reel hub, but the tape was badly wrinkled as you can see in the images above.
    Meanwhile, the camera appeared to function, with no error message, but again the eject button refused to open the (now empty) cassette compartment. I carried the camera around the next day using it as a digital still camera (that part worked fine), and that afternoon the eject switch suddenly worked- I have no explanation for this.
    In order to rewind the above-pictured cassette, I had to manually wind the tape past the crinkled portion by releasing the reel lock (near the center of underside of cassette, between the two reel hubs) with a small stylus and simultaneously winding with the pencil eraser.
    After this event, my camera was apparently working normally. However, it subsequently crinkled another tape during rewind, this time in the middle of the tape. After that I stopped using normal rewind and instead used 2x speed reverse play. Then, the camera crinkled a third tape in 2x reverse play mode. At this point I brought it into the Sony service center in San Jose (along with a printout of this web page). Sony advises that camcorder repairs normally take 10 working days, but around holidays (eg. Christmas) they are more busy and it takes longer. If you are looking for Sony service information, this site may help.
    They fixed mine in six working days (I dropped off and picked up myself). The receipt states "CONSTANT IRREGULAR MOTION, MECHANICAL ADJUSTMENT, CLEANED AND/OR LUBRICATED". No parts were replaced. There was an attached note stating that tapes recorded previously may be unable to play back now, as the camera may have been previously functioning incorrectly. A handwritten addendum states: "Please do not play back the damaged or eaten tapes." So far the repaired camera plays back its prior (undamaged) tapes without problems, both in SP and LP mode. When doing FF or rewind, it seems to me the tape drive motion has a somehow smoother or cleaner sound to it, and by comparison it was wheezy or a touch rattley before. But I did not notice this specifically before the repair so it may be my imagination. The repair comes with a new 90-day warranty so I'll excercise the camera during that time.
    After the camera came back from Sony I noticed that the steadyshot function was no longer working. I brought it in again and they fixed this for free, since it was under the 90-day post-service warranty, in 8 working days including return shipment. The receipt states "CONSTANT DATA INPUT/OUTPUT, RESOLDER, CLEANED AND/OR LUBRICATED".
    NOTE:One user has reported apparently fixing the tape crinkle problem himself merely by cleaning the camera.
    How do I avoid this happening with my camera? ...you may be wondering.
    According to my sources, tape crinkle damage can be caused by two things: 1) accumulation of "gunk" on the capstan shaft, and 2) insufficient takeup reel torque allowing the tape to slip off one of the tape guides (TG7, next to the capstan and pinch roller). I suspect the more common problem is (1) buildup of gunk, and you can clean the camera yourself if you wish (note: head-cleaning tapes clean the head, not the capstan, so they do not help with this particular problem). Gunk buildup was apparently the problem with my camera.
    If the T-reel tension is too low (less than 0.69 mN*m), it can cause tape crinkle as the tape slides off the bottom edge of tape guide TG7 during rewind. Takeup reel torque is fixed at a Sony service center by replacing the T reel table. Sony originally specified 0.44-0.93 mN*m torque on the T-reel of the C-mechanism drive unit (TRV9, TRV900) but after the tape crinkle issue surfaced, this spec was changed to 0.69-1.32 mN*m (that happened on or before January 2000, I believe). This means that late-model TRV900 cameras should be less likely to suffer from crinkle cause (2). BUT crinkle cause (1), gunk build-up, can still occur. Sorry, I don't know the serial number beyond which this was implemented, and I personally suspect that all TRV900s are equally potential victims of cause (1) which is likely the dominant failure mechanism. It may be that residue build-up is increased by mixing tape brands, or by specific brands, or heat, humidity or other factors but I have no evidence of this myself. Just keep an eye on your capstan shaft and clean it, if necessary (see instructions for this).
    Tape crinkle and tape jam happens most frequently, but not exclusively, at the last 5 minutes of a reel. The problem can occur just when rewinding, not necessarily when playing or recording. It is possible that it is not reported more frequently than it is (a handful of reports out of my 150+ respondent TRV900 reliability survey) because many users do not record to the absolute end of a tape.
    I have reproduced a page of the service manual if you are interested. You can see a few other users' reports of this problem here.
     
  3. mafach

    Trophy Points:
    4,680
    Likes Received:
    49
    Messages:
    2,028
    Appréciations:
    +49 / 233 / -1
    Attention! Retirer la cassette de l'appareil n'est pas aussi simple que nous le dit ozzor. Les guides bande sont probablement en position bande chargée et de plus, la trappe est vrouillée.
    Le manuel de maintenance indique qu'il faut démonter la camera, retirer le connecteur du moteur de chargement et appliquer une tension de 4,5V directement aux bornes du moteur pour piloter le déchargement de la bande.
    a+, mafach
     
  4. JULIEN

    JULIEN Repairenaute émérite

    Trophy Points:
    1,000
    Likes Received:
    0
    Messages:
    2,569
    Appréciations:
    +0 / 0 / -0
    Merci mafach, je m'apprêtais à écrire la même chose, mais comme je n'ai jamais ouvert de TRV900 (seulement des TRV110 et autres Hi8 ou DV) j'hésitais à étaler mon "expérience". Mais je suppose, c'est le même principe d'ouverture: enlever la batterie, toutes les vis externes et commencer par désolidariser la partie entourant l'optique. Ne jamais forcer, tout doit se faire en douceur. Une pile de lampe de poche suffit pour faire marcher le moteur d'ouverture, facilement reconnaissable perpendiculaire à la cassette (court essai dans un sens, sinon dans l'autre).
     
  5. mafach

    Trophy Points:
    4,680
    Likes Received:
    49
    Messages:
    2,028
    Appréciations:
    +49 / 233 / -1
    En effet, je n'ai pas voulu trop entrer dans les détails mais ta description du démontage est la bonne.
    drupka, bonne chance. Je te souhaite de faire revivre cette TRV900 qui est un très bon camescope.
    a+, mafach
     
  6. ozzor

    Trophy Points:
    1,100
    Likes Received:
    0
    Messages:
    675
    Appréciations:
    +0 / 0 / -0
    Il est agréable de voir tant de bonnes âmes aider cet heureux possesseur d'une TRV900. Je dois préciser que je lui ai conseillé de contacter un spécialiste. J'ai trop simplifié la manip, J'ai une TRV900 depuis ses débuts et pour moi c'est simple.J'avais oublié la tension électrique que j'applique en respectant la polarité. Voir un spécialiste en cas de doute. Mon problème comme beaucoup d'utilisateurs de cette caméra se trouvait dans son réglage de galet que nous avons règlé sur ce site avec l'aide de l'équipe Sony il y a des années. Depuis j'ouvre sans complexe, ma caméra est hors garantie.
     
Loading...

Dernières occasions


Share This Page

Vous souhaitez annoncer sur le Repaire ? Contactez-nous